The latest on COVID-19 is that it is suggested that everyone use a cloth face mask when going out in public. This tutorial is to make a cloth face mask so that the N95 filtration masks can be reserved for doctors and first responders who need them most. This is not a replacement for the N95 filtration mask desperately needed by medical professionals, although with the proper materials (which I will also list below) it can be adjusted to provide a higher level of protection.
You can hand sew this if you want to, but I use my sewing machine so I can make them more quickly- all you are doing is sewing straight lines. It’s very easy to do and doesn’t require any specialized stitching. I also use clear high tensile thread in all of my sewing so external seams aren’t visible, but any thread will work. In the photos below, where I am sewing is noted with a pinned red ribbon because the thread is not easily visible.
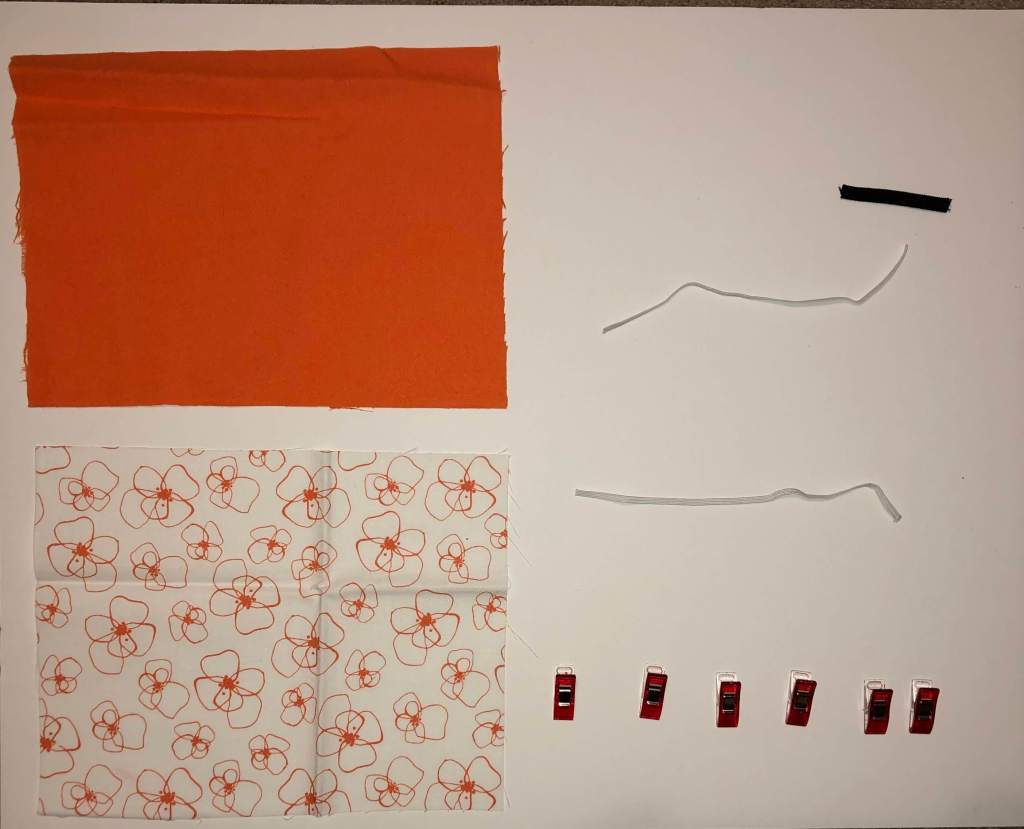
For one “non-n95 equivalent” mask you will need:
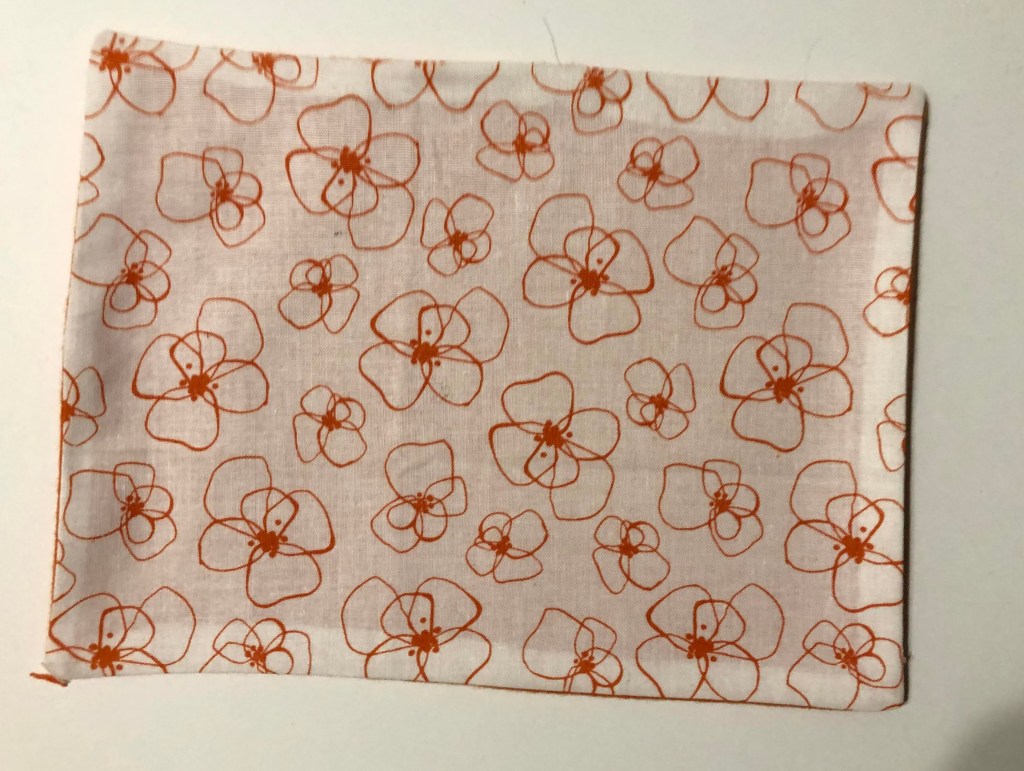
- One 9 inch x 7 inch rectangle of tight weave cotton for the outside layer of the mask (mine is white)
- One 9 inch x 7 inch rectangle of light weight flannel for the inside layer of the mask (mine is orange
- 4-6 pins or clips
- One 2 inch piece of thin elastic for the nose
- Two 6.5 inch pieces of elastic cord or the same thin elastic for the ears
For the adjustment to make the mask a better level of filtration:
- Swap the flannel for a filtration fabric of 0.6mm filtration or smaller (this type of fabric is on backorder nearly every website I’ve looked for it, which is why I suggested using two tight weave fabrics instead- it is not medical grade, but definitely good enough for front office staff in doctors offices, pharmacy and grocery store cashiers- anyone in brief, not-so-close contact- saving the n95 masks for the doctors and nurses directly in contact with and helping to test and treat victims of this pandemic)“
- OR follow step 5a instead of step 5 in order to leave a hole to insert a filter into the mask.
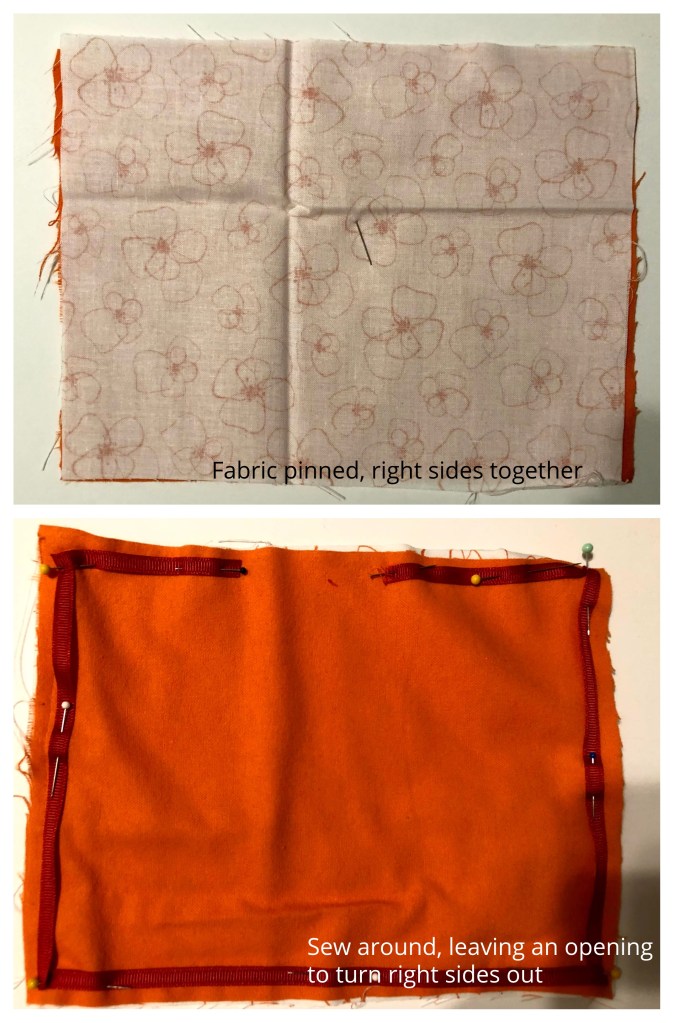
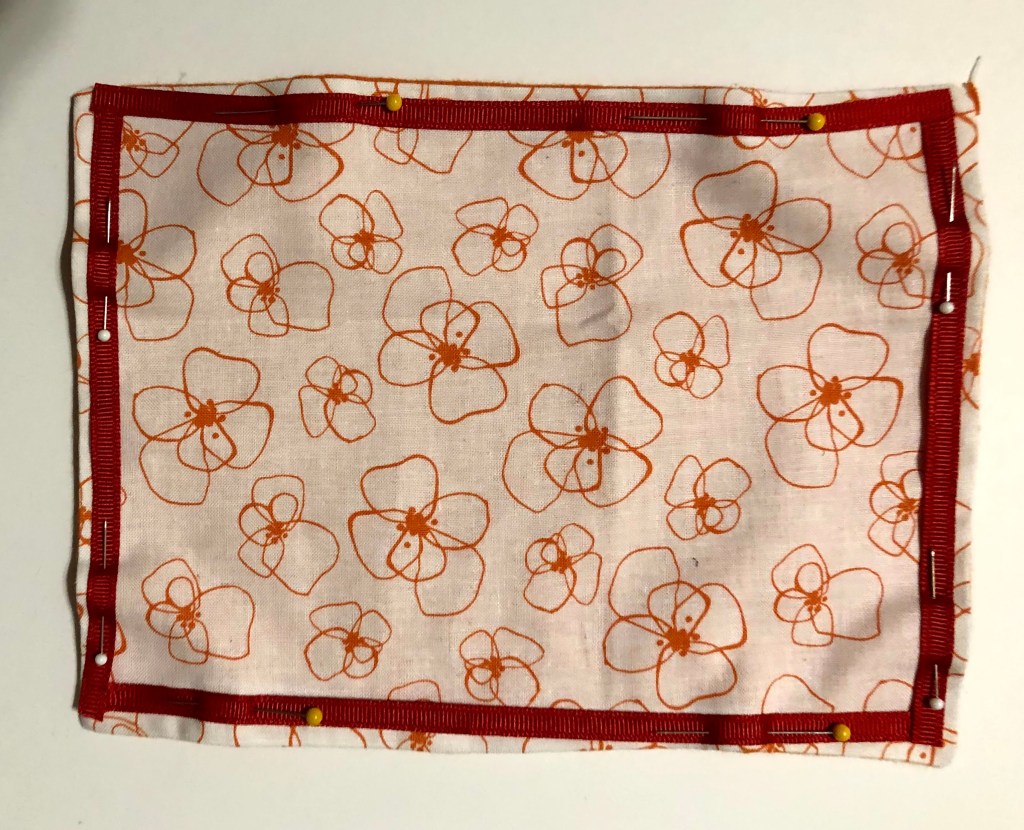
- Place the two rectangles of fabric right sides together and sew around the edge using a ⅛ or 1/16 inch seam allowance. Leave a gap 1 inch to 1.5 inches wide in one of the longer sides of the rectangle so you can turn the fabrics right sides out.
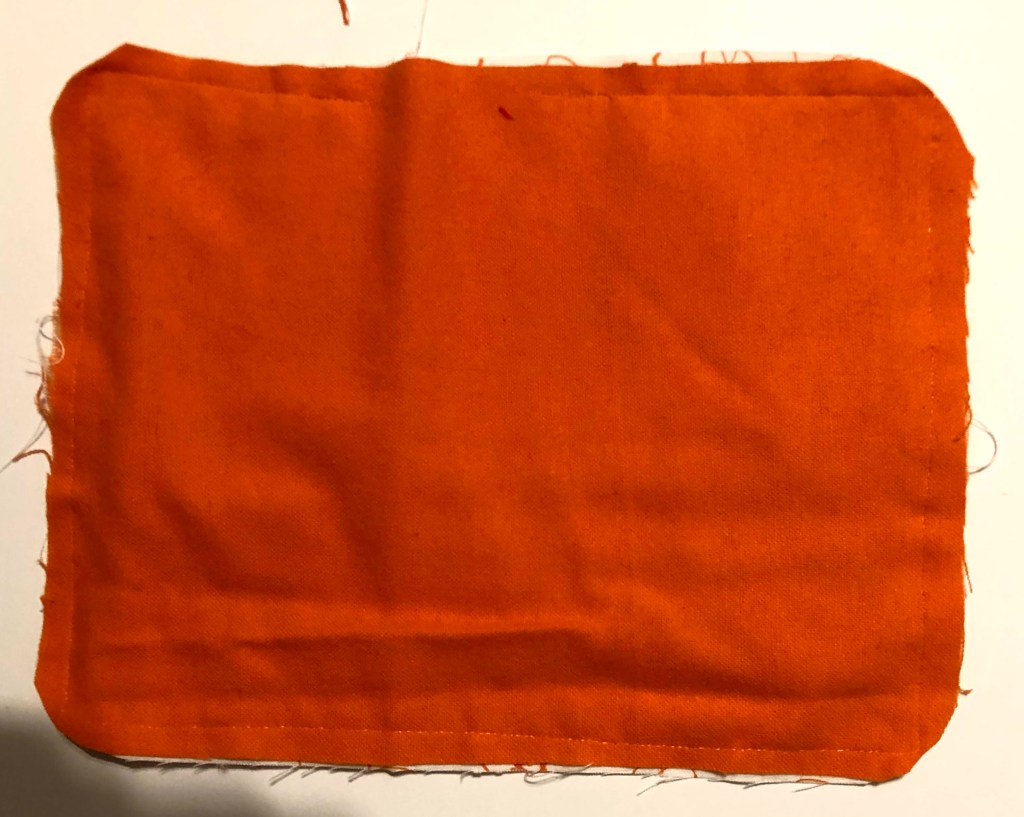
2. Trim the corners as close to the seam as possible without cutting the seam
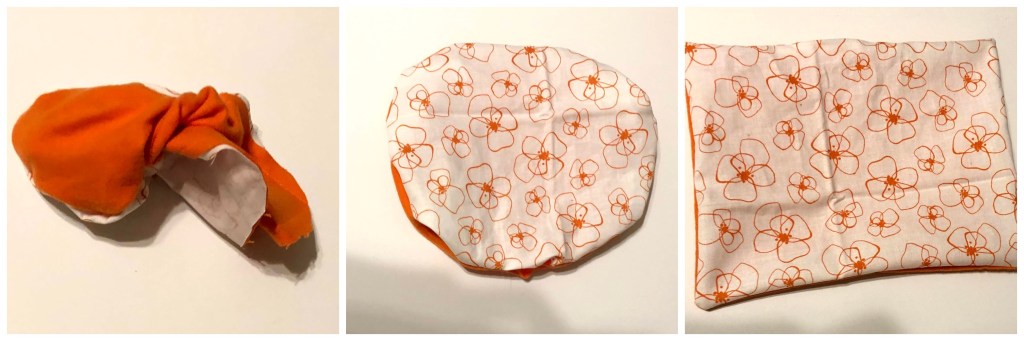
3. Turn the fabric right sides out- pushing the corners out with closed scissors or your fingers
4. Press the fabric flat, tucking in the open edge of the gap you left before pressing.
5. Sew around the fabric again, this time not leaving a gap.
5a: Sew around the rectangle leaving the open edge again. Hand sew the edges of each fabric separately in order to leave a finished opening in the bottom of the mask through which a filter can be inserted.

6. Fold the fabric into a fan shape with 4 sections horizontally (so the 9 inch side is still flat and the 7 inch side has the folds in it) and press with an iron to crease
The easiest way to do this so that each section is the same size without measuring it multiple times is to fold it in half, then fold each end in to the center fold, pressing each fold as you go.
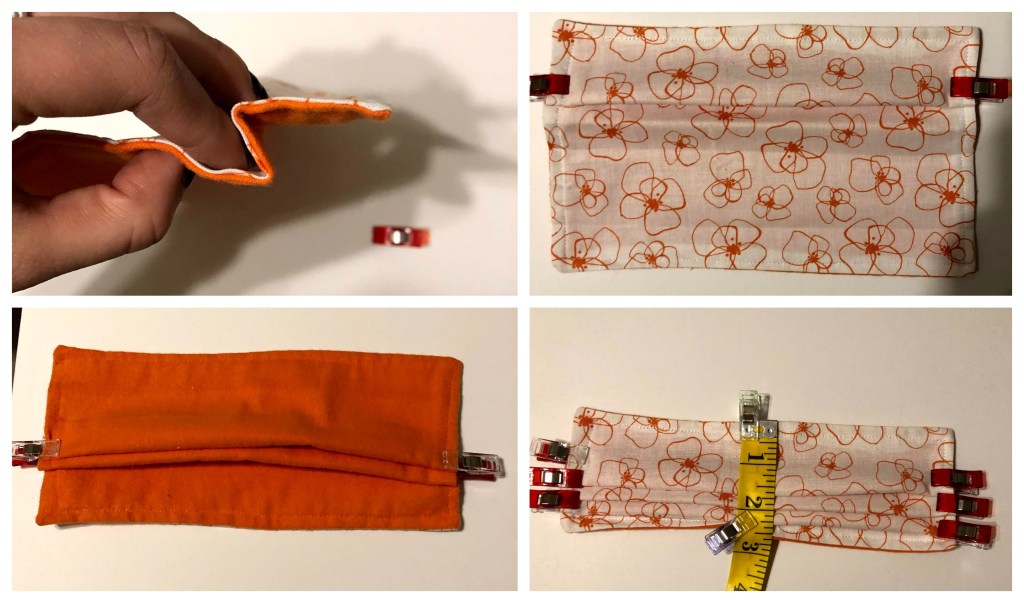
7. Place 3 pleats in the fabric, using the creases you made in the last step as a guide for the bottom of each pleat, and pin or clip on each side.
The height of the clipped fabric should be between 2.5 and 2.75 inches.
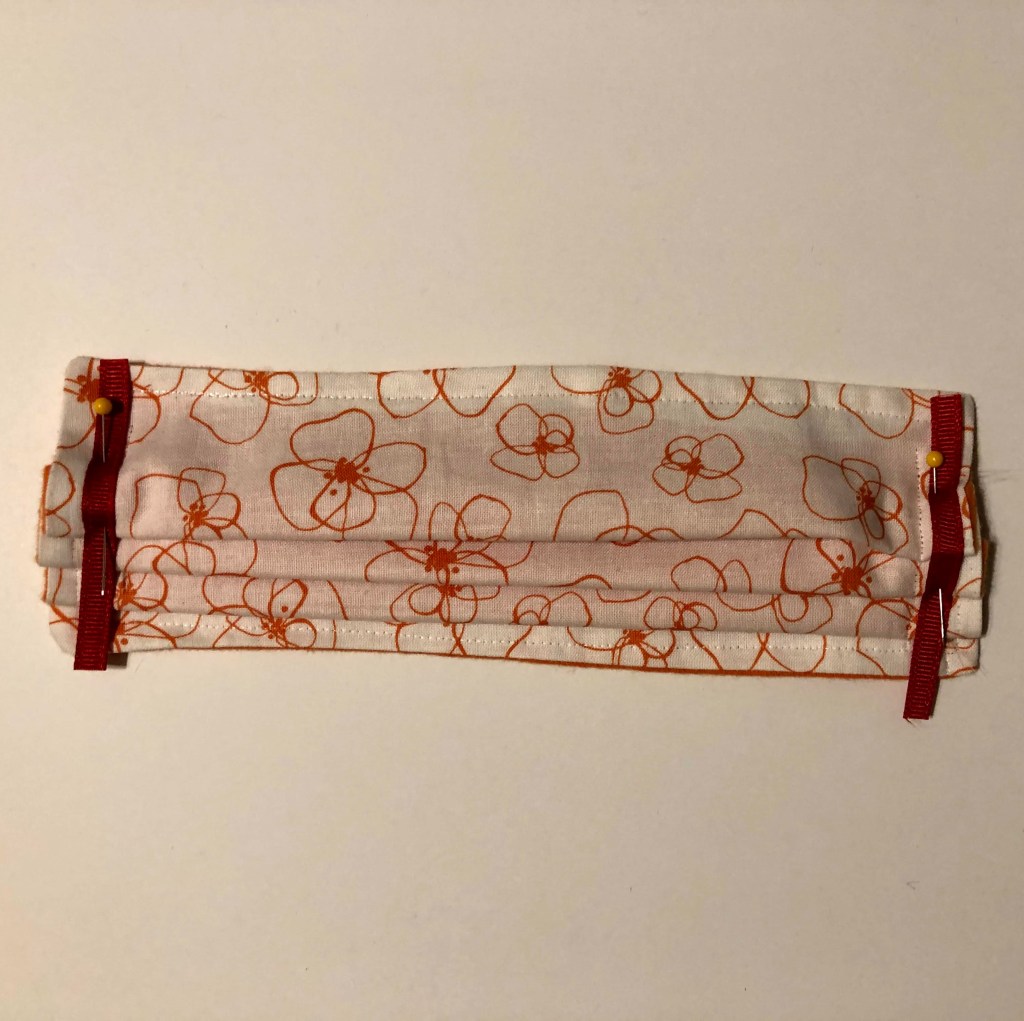
8. Sew along the sides over the pleats to hold them in place.
On this seam, I go inside the hem to reduce the number of fabric layers my machine has to go through
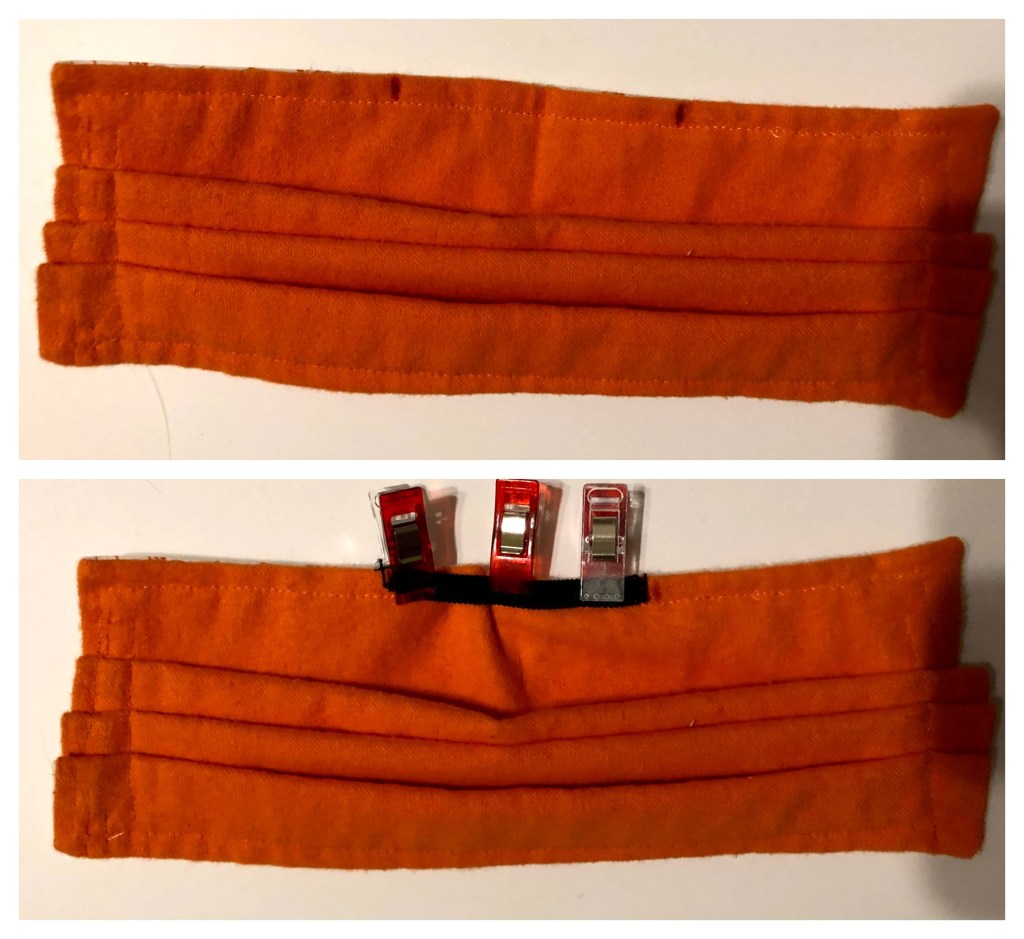
9. Measure 1.5 inches from the center of the top on each side and pin your 2 inch elastic, stretching it as you go between the places you marked.
This is to hold the fabric against the bridge of the nose.
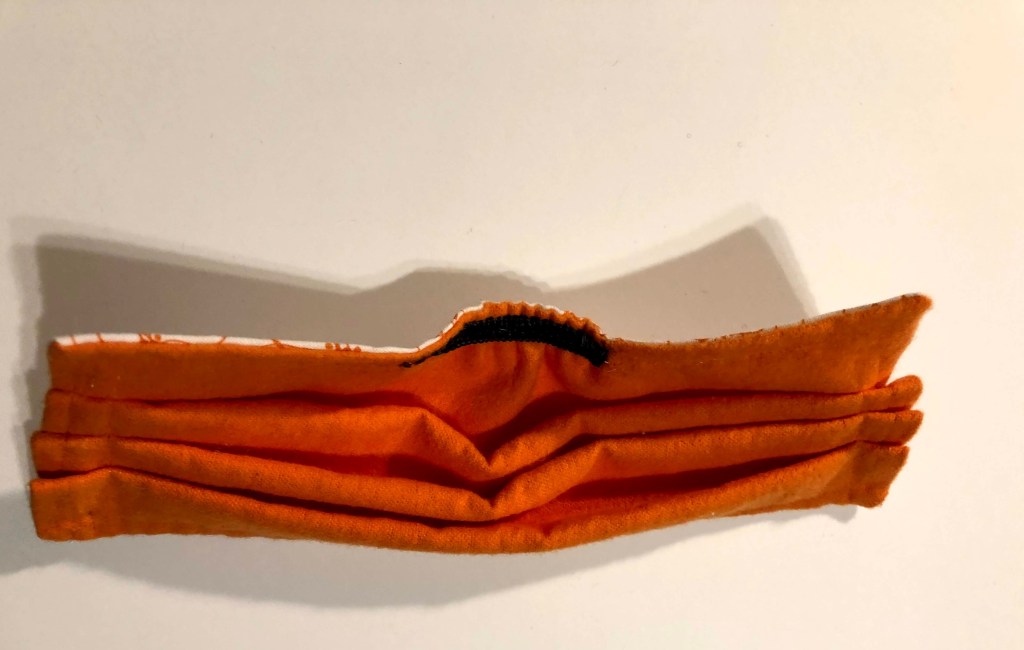
10. Sew the elastic in place.
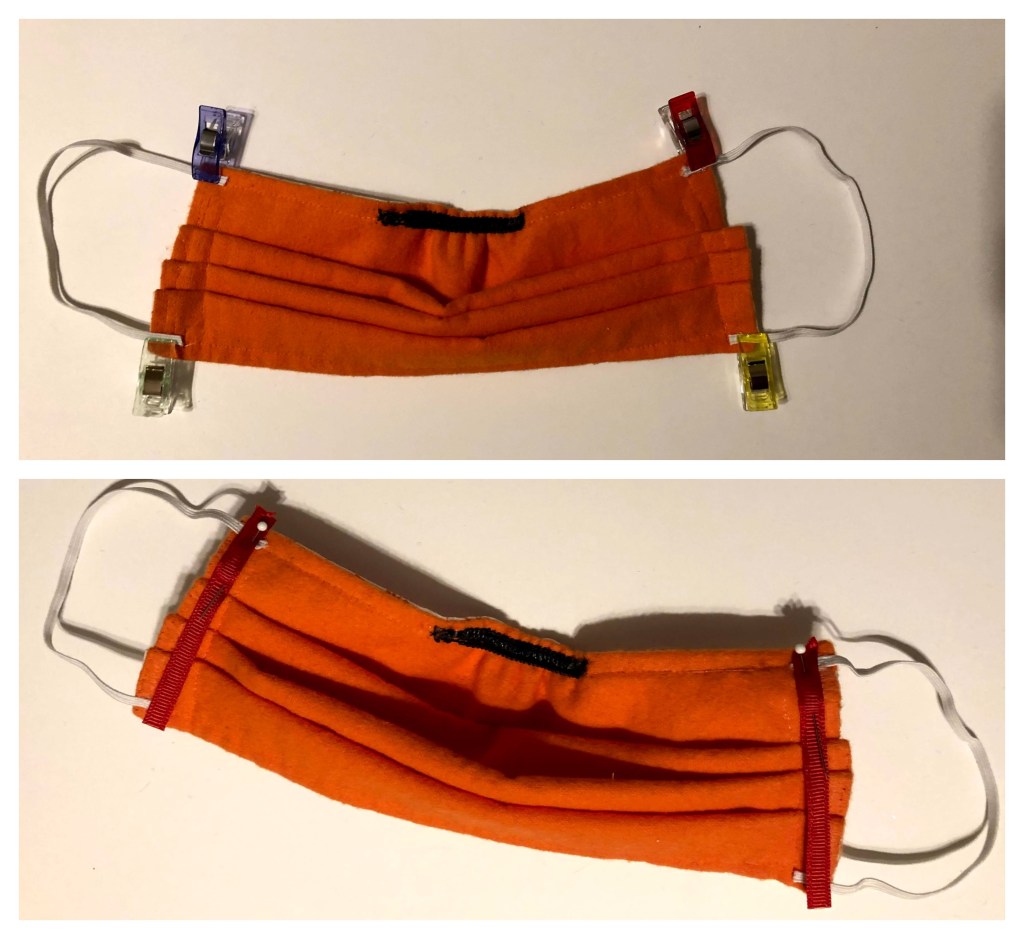
11. Place the 6.5 inch elastics on the corners of the mask and pin in place, then sew all the way along the sides again to flatten and hold the elastics in place
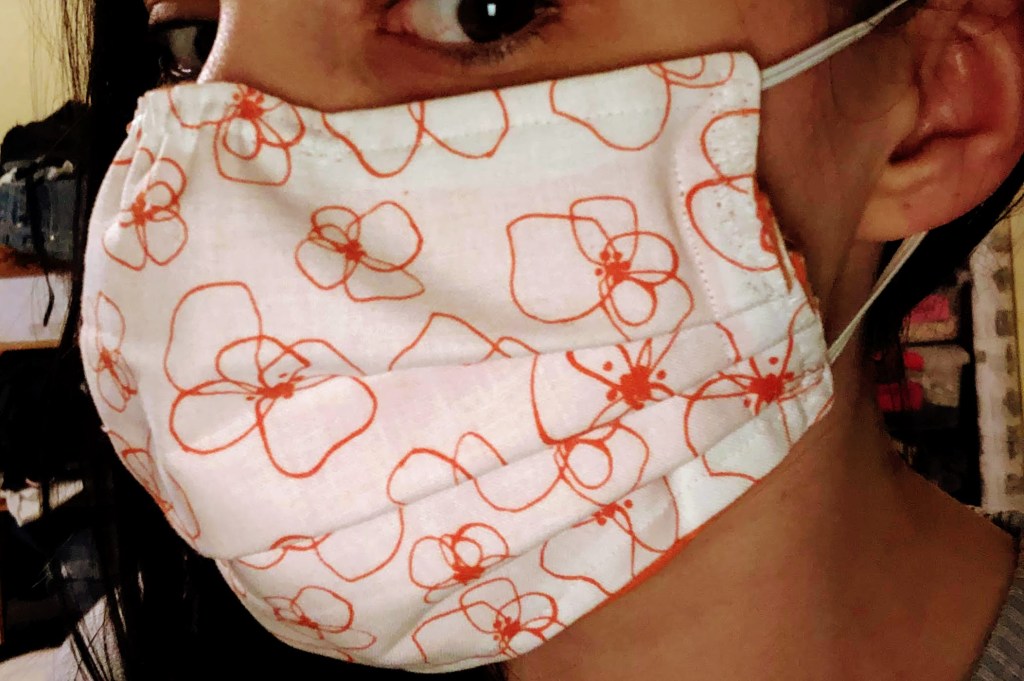
12. Spread pleats apart to cover from the bridge of your nose to your chin. The mask is ready for use!
Using these masks in your errands and donating them to those who still have to have regular contact with the public can help to stop the spread of this virus and flatten the curve! My mom and I have been donating them to medical receptionists at our local doctors’ offices, and cashiers at our local grocery stores and for volunteers at a migrant workers clinic in our area.
Make sure to WASH YOUR MASKS (in the washer or by hand in hot water) after each use! We’re all in this together!
Leave any questions you have in the comments and let me know 1, how you’re coping with self-quarantine and 2, who you’re making masks to protect!
